While chainmaille jewelry appeals to everyone (and we know many incredibly talented men that create amazing jewelry designs), it is a largely female driven craft. At every level from hobbyist to professional there are moms, sisters, aunts, step-moms, grandmothers, etc. creating beautiful jewelry and inspiring the people around them. For Mother’s Day this year, we invited artists and bloggers to reflect on the women in their lives that inspire them. The result is a special blog hop and giveaway that is bound to get you thinking about the women in your life who have made you the person you are today.
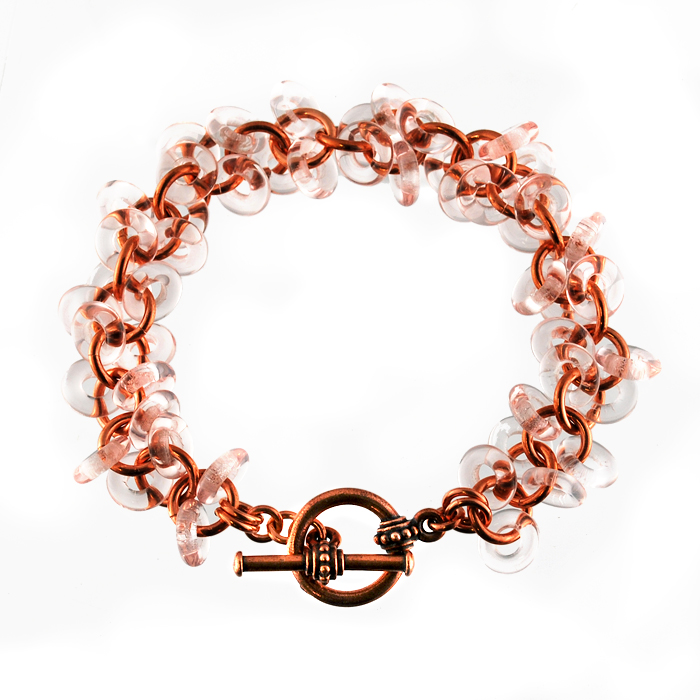
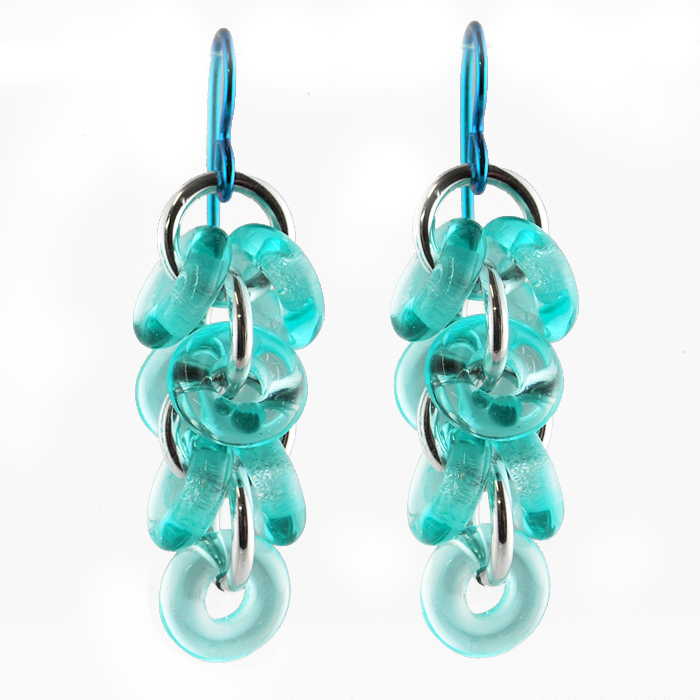
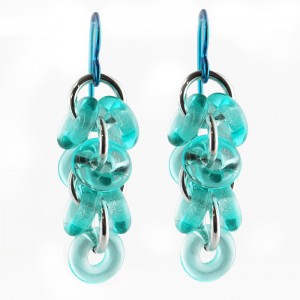
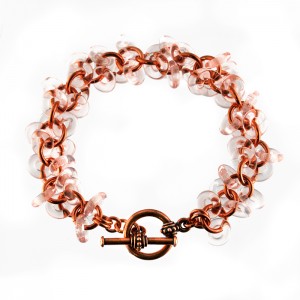 Get started right here on our blog with images and quotes from three very talented chainmaille jewelry artists, Rebeca Mojica, Spider and Sara Richardson. After reading, leave a comment honoring a woman in your life (or sharing your own experiences as a creative parent) to be entered to win* one of our limited edition Mother’s Day Chainmaille Starter Packs. We’ve made this all-inclusive kit extra special for mom with our beautiful glass rings in two feminine color options (Shaggy Loops bracelet – shown left in copper w/ light rose glass rings, Shaggy Loops earrings – shown below in aluminum w/ seafoam glass rings.) It’s a great way to share you love of chainmaille with someone in your life or create a handmade gift for someone! Comments will close at midnight CT on May 8th and a winner will be chosen at random and announced May 9th.
 But wait, there’s more! Visit these participating blogs to read more stories about fabulous women and have even more chances to win a prize. Each blog below will be offering a giveaway* of a “Celtic Visions” bracelet kit and PDF instructions to one lucky winner per post. Visit their posts for details on how to enter and when the prize will be awarded.
Thursday, May 2nd: Blue Buddha Blog – Contributed post from Charlene Anderson
Thursday, May 2nd: Handmade Artists Forum
Friday, May 3rd: ChiIL Mama Blog
Saturday May 4th: Saturday Sequins
Monday May 6th: Beading Gem’s Journal
Tuesday May 7th: Elemental Art Jewelry
*Giveaways are for U.S. residents only. One prize per person.
Happy Weaving & Mother’s Day!

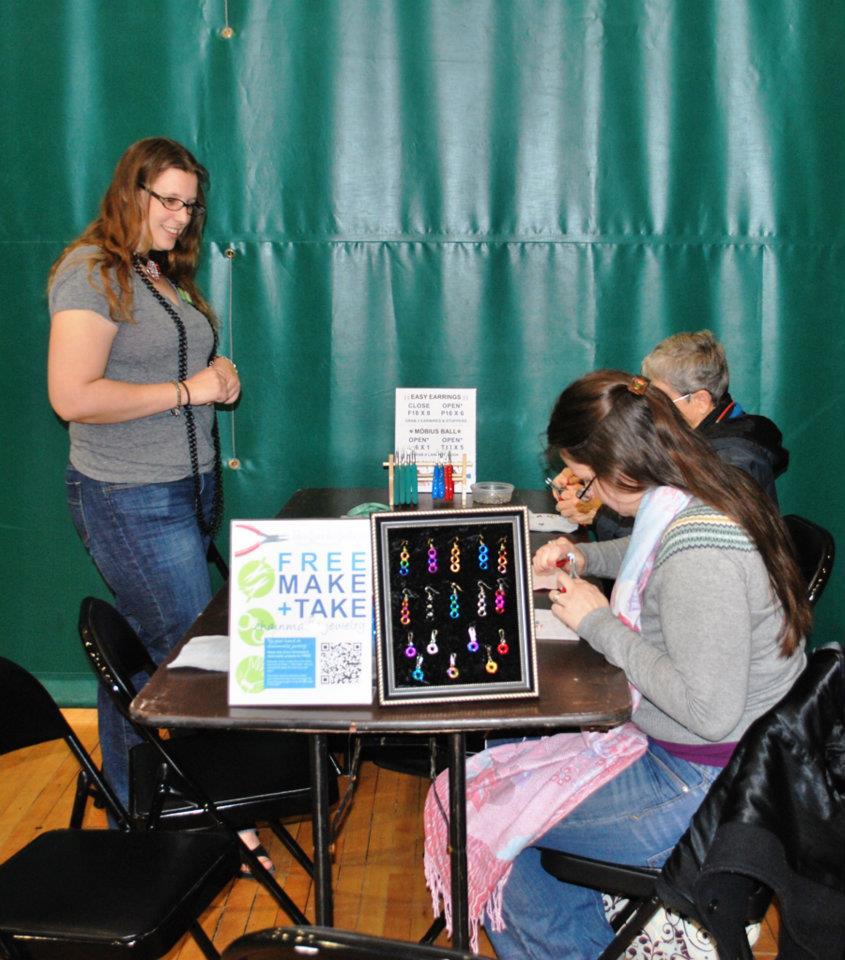
 When B3 Owner & Founder went to visit her mom in March, we sent her with some pliers, kits and a camera to document her teaching her mom chainmaille. Rita, Rebeca’s mom, is a huge part of the B3 family, often helping with show prep and otherwise bringing her positive spirit and energy to us, usually when we need it most!
“My mom always supported my creative endeavors when I was a kid. My parents enrolled me in a fine-arts public school. I grew up thinking everyone took art, dance, drama and music classes! It wasn’t until I was much older that I appreciated how special this was. My mom proudly wore and displayed all sort of stuff that I made: multiple copper enameled fish brooches, tons of drawings and even an astray (no one in my family even smoked!). I am really thankful I had the chance to develop my creative side throughout my childhood; I am sure it is one reason I am so creative as an adult.”
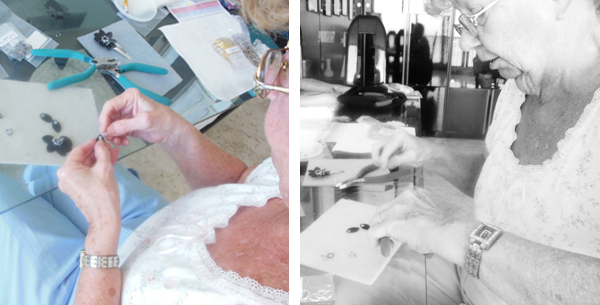
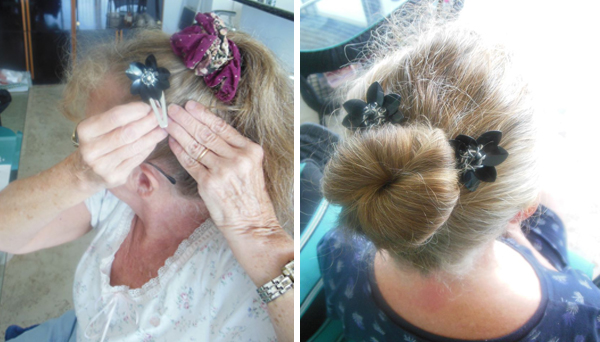 “Even though I’ve been mailling for more than a decade, this was the first time teaching my mom! It was actually a lot of fun. First off, my mom has taken lots of arts classes, so she knows how to be a good student, which made my job tons easier. *grin* One of the rings in the pattern 14ga and very difficult to close, but she was determined to do the entire thing herself. (I think that particular streak of stubborness runs in the family, haha.) Once she completed her first barette, I showed her an alternate way to weave the second, and since she was already familiar with the pattern, she wove it twice as fast as the first. We were both proud to see how much she learned and was able to do in her first hour of weaving. Yay!”

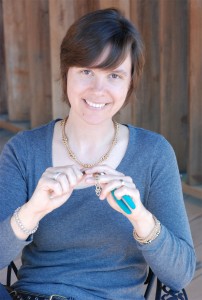 Spider is a an incredibly talented chainmaille jewerly artist, supply business owner and a mom. We spoke with her last year about finding the work/life balance. Below is her response to our questions, “How has becoming a mother affected your priorities as an artist and business owner? Has it changed the way you look at your art and/or your business?”
 “I’m sure there are some subtle changes that I’m not consciously aware of, but the only specific thing that comes to mind is how SATISFYING it is to share the creative design process with Kayla. Seeing her go though the steps of creating something new makes the whole process somehow more valuable to me.
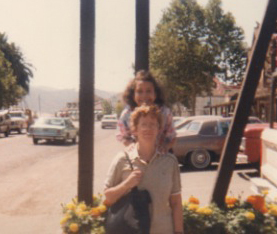
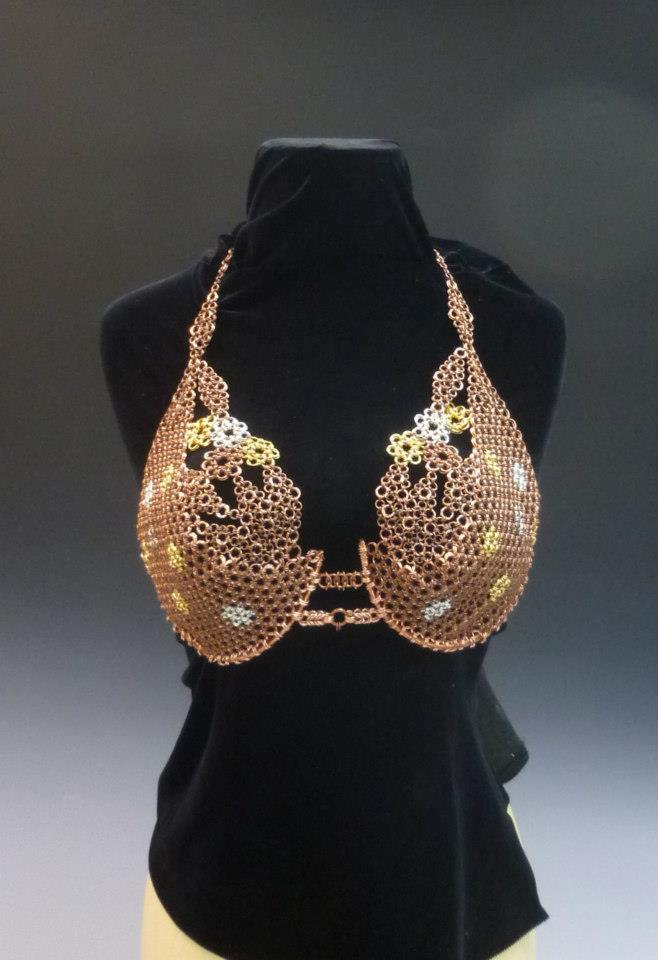
She’s been coming up with her own jewelry ideas for years (including one memorable necklace made with a paper napkin – seen below and modeled by Kayla, left) and I am fully convinced that the process of imagine/create/use has given her a better grasp of how the physical world works, plus a level of “I can” confidence that’s going to make her whole life more fun – and not just for jewelry! Manual dexterity, the ability to visualize and plan, the satisfaction of using a thing made by one’s own hands – these are all things that I would wish for EVERY child.”
(Necklace and earrings below designed by Kayla.)


 Sara Richardson is another mommy-mailler making it work while taking care of her first baby, Michaela. She spoke about the importance of keeping creative pursuits in her life after becoming a mom in our blog hop back in November.
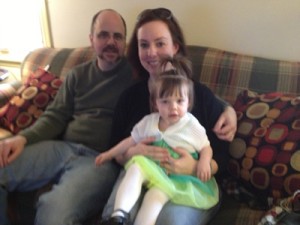 When Michaela was born, my mother gave me some great advice. “Be good to yourself.” As consumed as I am sometimes with raising my daughter, I have never forgotten it. It’s very important that you don’t lose your personal identity when you become a mother. Currently, a big part of my identity is that of a jewelry designer. I feel like I’m being good to myself when I get involved with, and then finish, a chain maille project!
**Please note: Your comment may not appear right away. In order to prevent spammers and robots from taking over our giveaway, we must approve comments, particularly from folks who have not commented on a previous blog post. We will do so frequently throughout the day, so we’ll get to yours soon!
 For May, we’re featuring Helm Chain. This weave has been requested a few times by our community on Facebook which we can only imagine means you guys already have ideas! We do have a few samples to get you started posted here in our Weave Samples album on Facebook, including this tapered Helm Chain created by one of our team members, April.