Free & Easy chainmaille patterns: large jump rings

In honor of our large jump rings sale happening at the end of this week, we are sharing two “free & easy” projects that utilize some of our largest anodized aluminum rings.  Be sure to check out some of our previous posts for even more ideas for these big and beautiful rings.


T14-heart

Rock on! Heart


Combine large T14 rings with stretchy rubber rings to easily create this funky heart pendant using a basic Japanese weave.

MATERIALS FOR PENDANT
12 x large jump rings (we used size T14 in Rock on! anodized aluminum mix)
22 x small rubber o-rings (we used size D14 in neon pink)
2 x small jump rings to attach the chain (we used size H18 aluminum)
18″-24″ pre-made chain + findings of your choice to close the chain

Heart-instructions

(click for larger view)

1. Start the heart from the bottom point by opening 1 large ring and scooping 2 small rubber rings onto it before closing.

2. For the next row, open another large ring, scoop 3 rubber rings onto it and then weave it through one of the hanging rings from step 1. Note: It is important to remember to scoop the correct number of rubber hanging rings each time as they are closed rings and cannot be added on later without reopening the large ring.

3. For the second ring in row 2, open a large ring, scoop 2 rubber rings onto it and weave it through one of the hanging rings from step one and one of the hanging rings from step two. You will end up with 4 rubber rings hanging off of row two.

4. Continue this process referencing the picture to the above-right. You may find it helpful to lay your piece down and line up the next row to visualize the connecting points.

5. Once you’ve completed the shape, add the two small rings to one of the rings at the top of the heart and slip the chain through these two rings to complete the necklace.


BIG & little chain

Combine large T16 rings with tiny D20 rings to create this simple and elegant chain that works great as a necklace or a bracelet.

T16-chainMATERIALS FOR 18″ NECKLACE / plus rings per inch (RPI)
36 x large jump rings / 2 RPI (we used size T16 in Iridescent Gunmetal anodized aluminum mix)
252 x tiny jump rings / 14 RPI (we used size D20 also in Iridescent Gunmetal anodized aluminum mix)
findings of your choice to close the necklace


chain-steps

(click for larger view)

1. Begin by creating a chain of tiny rings the desired length of your final piece in the following pattern:

2 – 1 – 1 – 2 – 1 – 2 – 1 – 1 – 2 – 1…and so on.

2. Next, open a large ring and weave it up through the first set of doubled rings, and down through the next.

3. Repeat step 2 for the length of your piece. Finish the necklace by adding your favorite clasp. Note: you may wish to weave a heavier gauge (or stainless steel) ring through the final set of doubled rings to attached your findings to prevent the tiny rings from pulling apart.


In memory of an amazing chainmaille patron

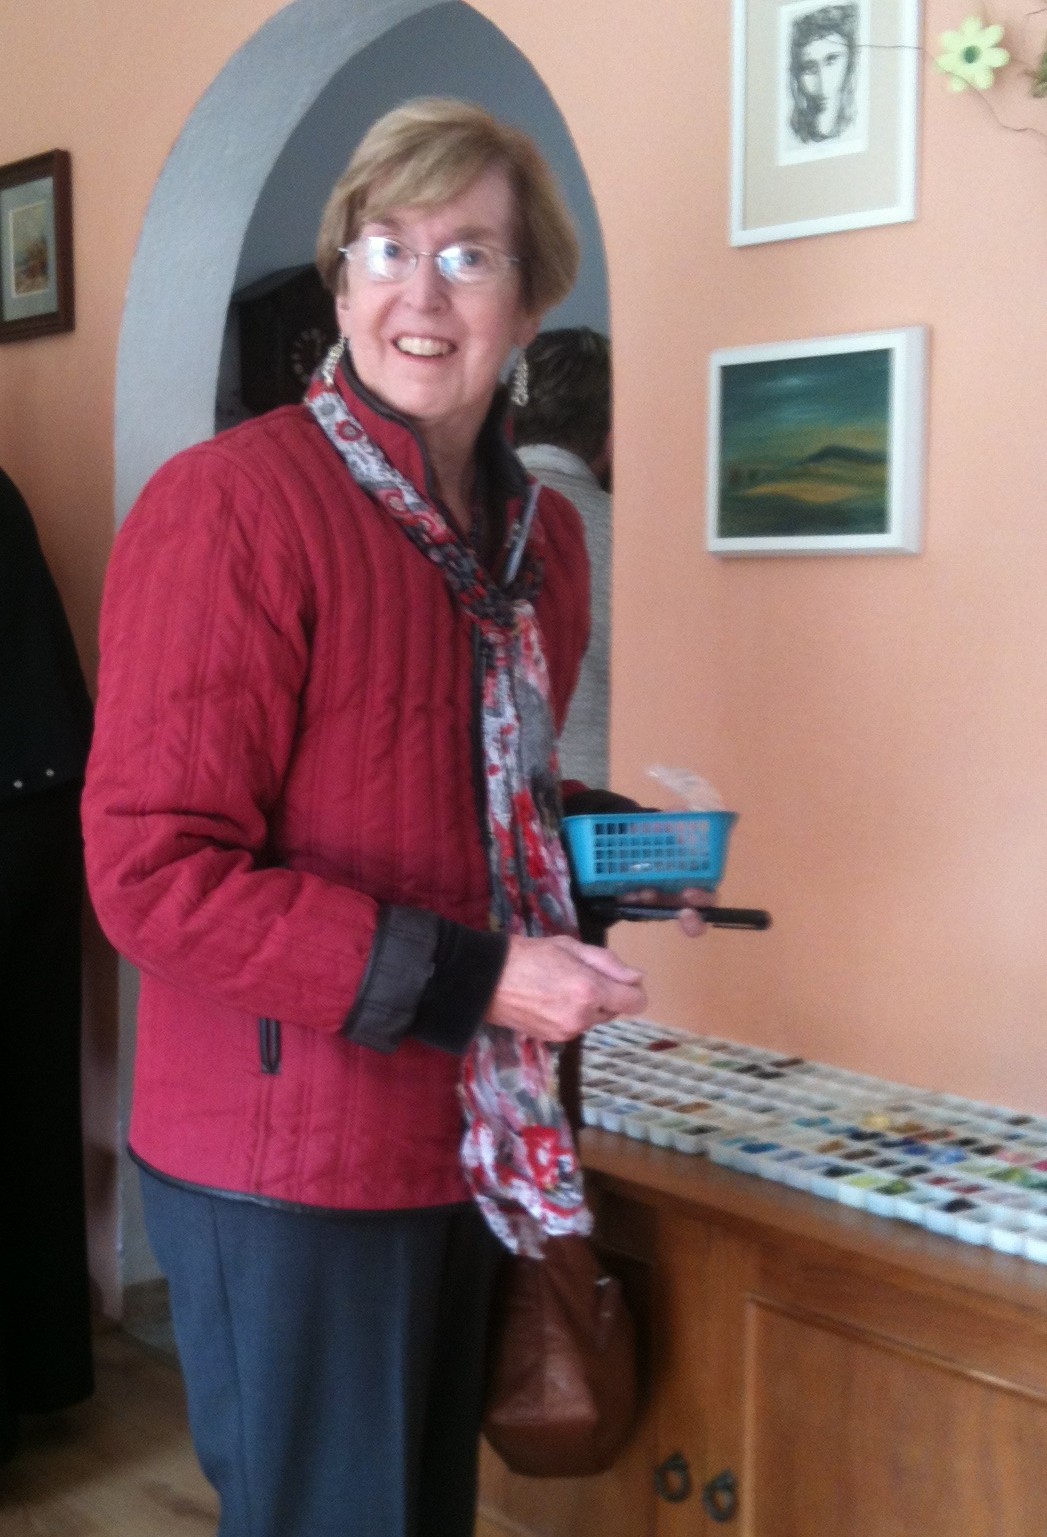
Every now and then a person comes into my life who radiates such loving and positive energy, I can’t help but take notice. When I’m with these people, I am touched by their inner beauty, and I realize all I want to do is smile and hug them. Heck, they make me want to hug everyone! I reflect on my life and consider how I could be a better person, more like them. I am grateful that I had the chance to connect with them, and hope that I’m able to inspire others as they inspire me.

Genie Jackson, lover of chainmaille!One of these people was Genie Jackson. She passed away last December, and even though I hadn’t seen her in nearly a year, I felt an incredible sense of loss, not only for me, but for the chainmaille industry as a whole. She was an amazing person, capable of touching so many. Genie was one of the biggest chainmaille fans I’ve ever met, and her unsung contributions to this industry are simultaneously modest and extraordinary.

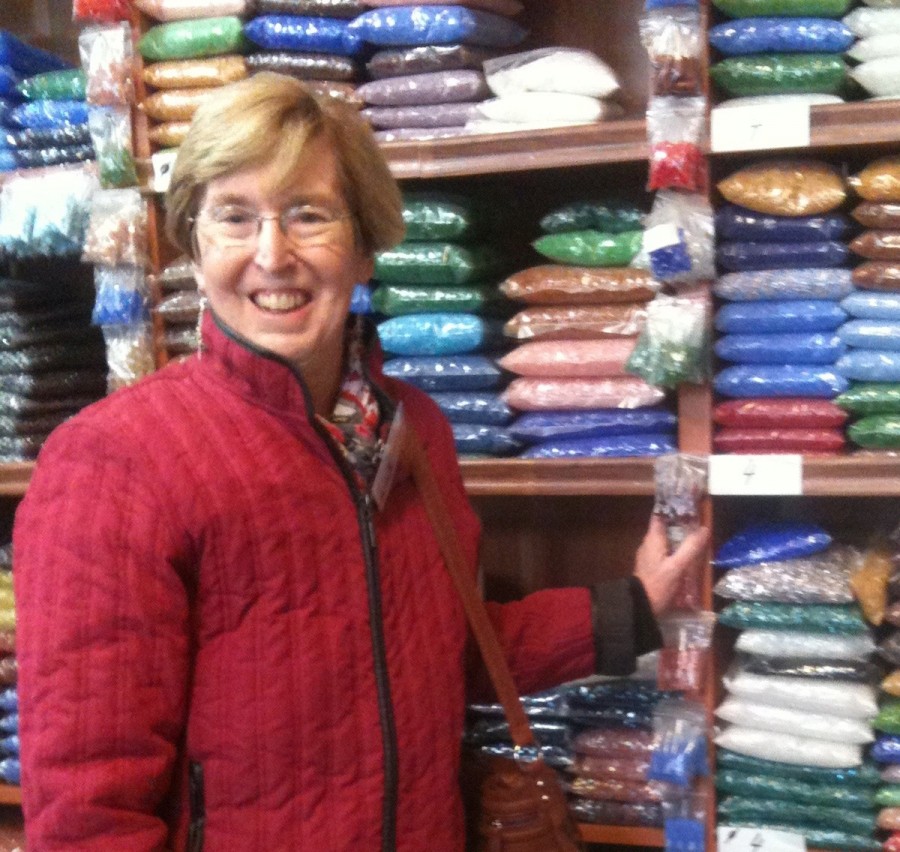
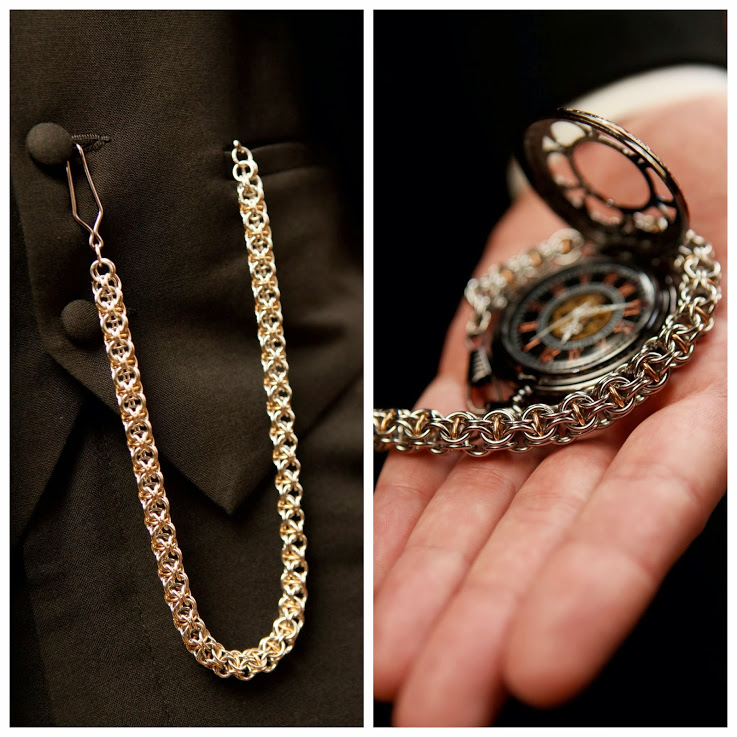
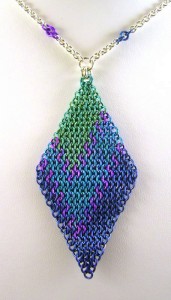
I met Genie at the Bead&Button show in 2008. She had signed up for one of my classes, but had to cancel due to chemotherapy. As it turned out, she wound up being well enough to travel to Wisconsin, so she came to the show and stopped by the booth. I was instantly struck by how energetic she seemed, chemo or no! She bought some earrings from me at the booth, and later in the year contacted me for a few custom and one-of-a-kind pieces, including the niobium pendant shown below. During the next few years, she took several classes from me and purchased additional jewelry pieces.

pendant_niobium_mesh_close

Here’s the thing, though. Genie wasn’t just a fan of my jewelry or teaching. She loved chainmaille, pure and simple. She also took classes and purchased jewelry from Kat Wisniewski of Elemental Art Jewelry, Spider of Spiderchain.com and Vanessa Walilko of Kali Butterfly. Talk about sharin’ the love! Through her simple act of purchasing from and making connections with a variety of artisans, she helped support the craft in a way that few do.

Each of these folks has just as fond memories of Genie as I do:

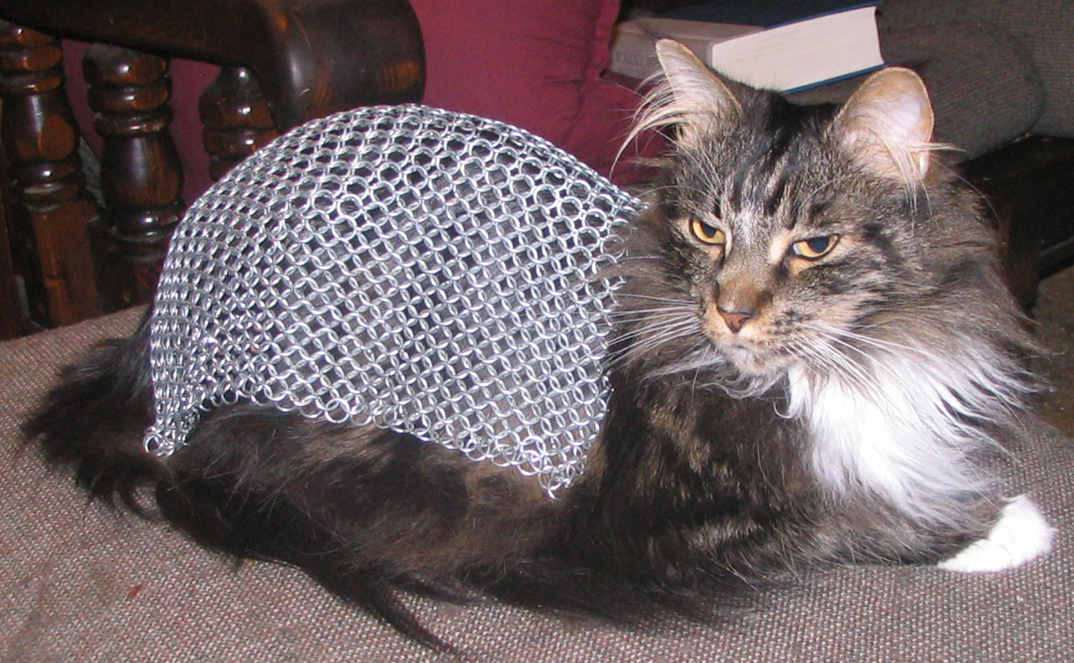
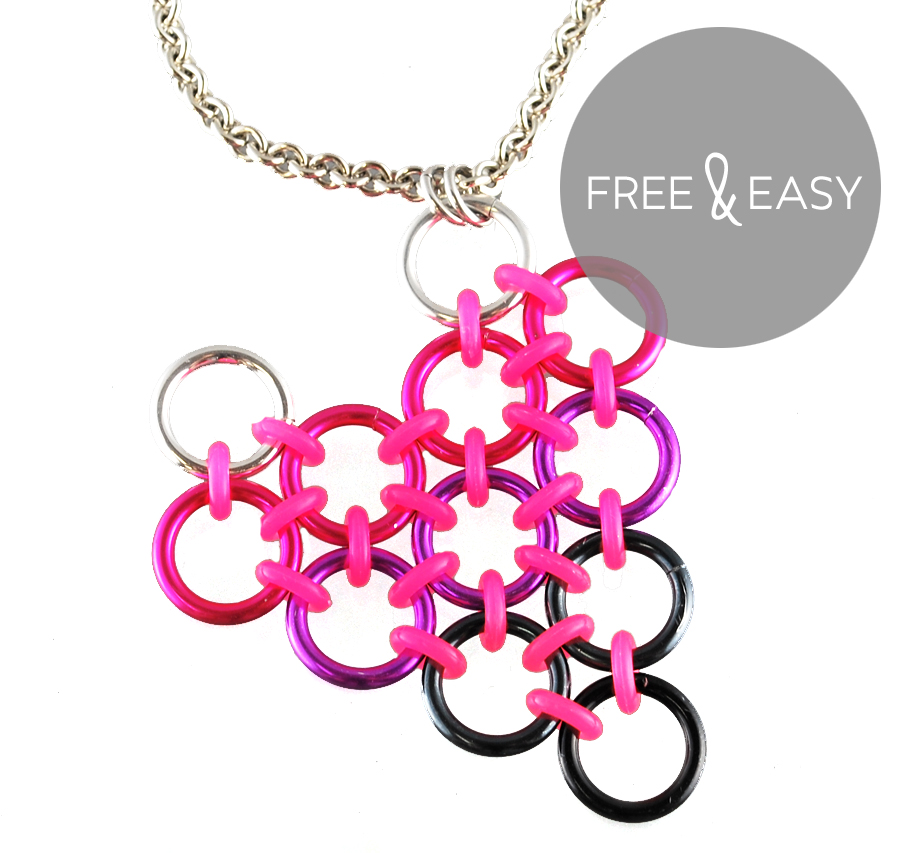
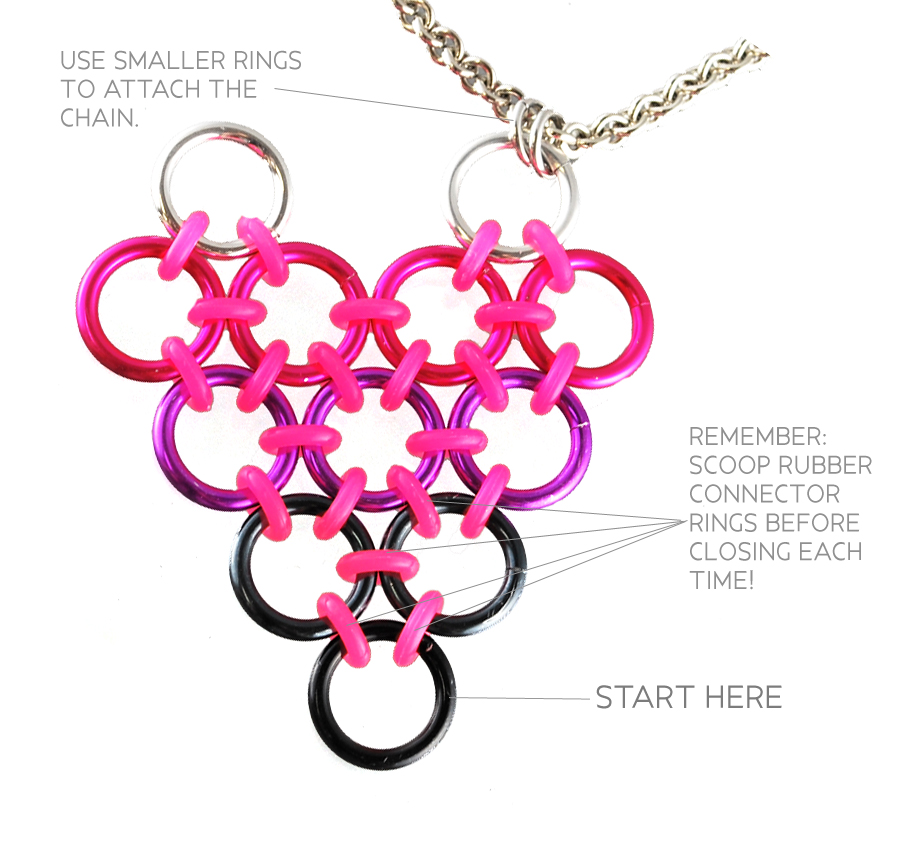
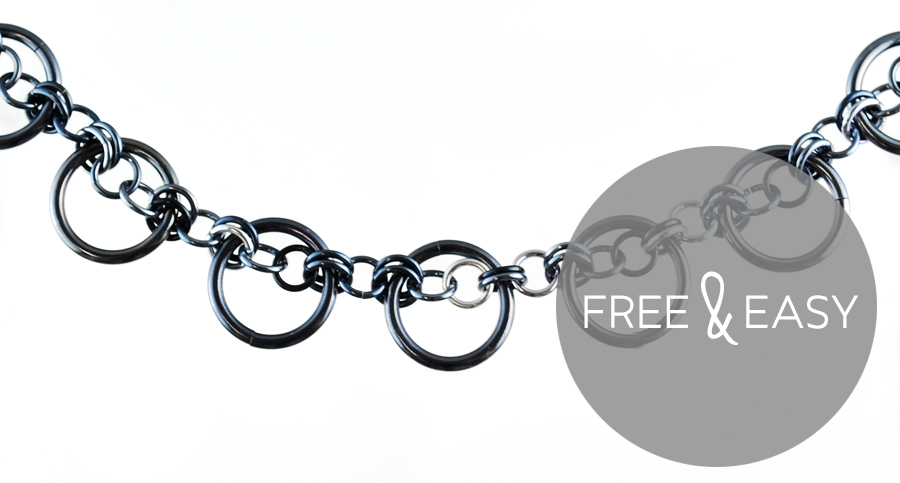
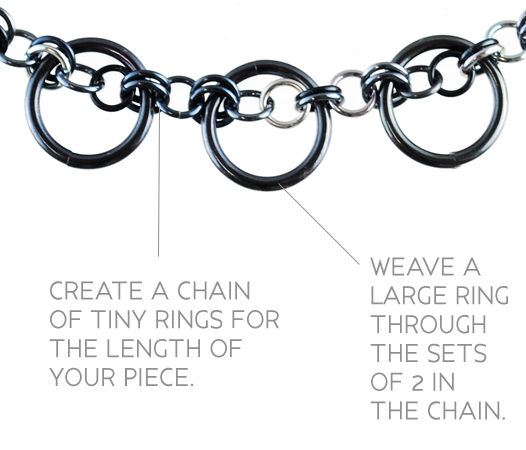
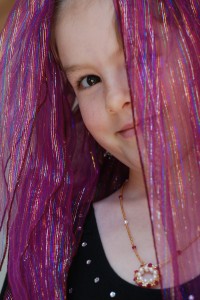
Kat – “Genie was a big fan and supporter of my finished jewelry and my published projects. She commented regularly on my business FB page and purchased new finished jewelry items – such as the glass ring piece below – as soon as I launched them. She was also so kind and I’m glad I met her in person years ago.”

genie-KW

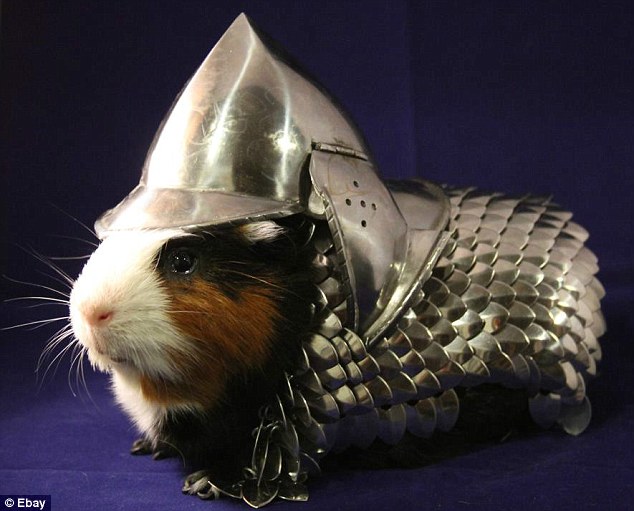
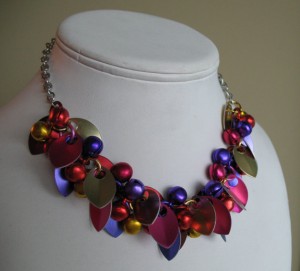
Vanessa – “She ordered two sets of earrings/necklace/bracelet from me, including the scalemaille necklace with bells shown below. It always means so much to me to have repeat customers, that they’re happy enough with my jewelry to want more. She ordered from me when I was just starting out, and it meant a whole heck of a lot to me.”

genie-VW

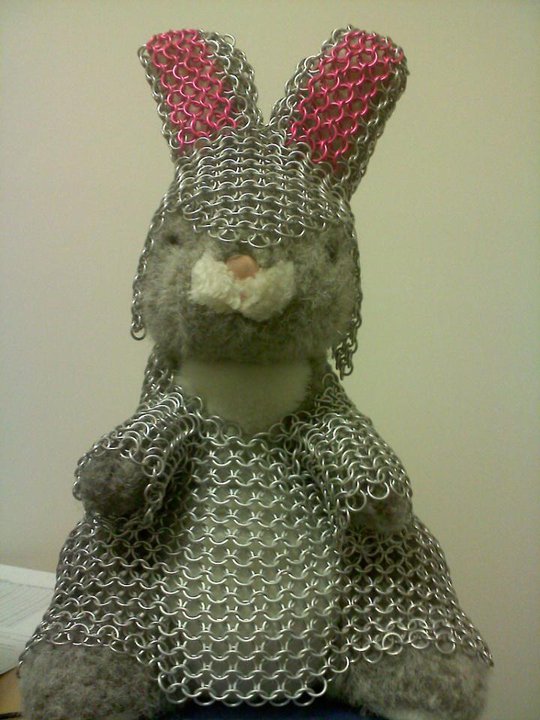
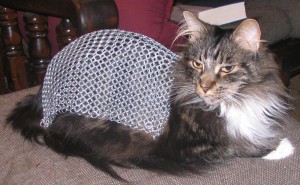
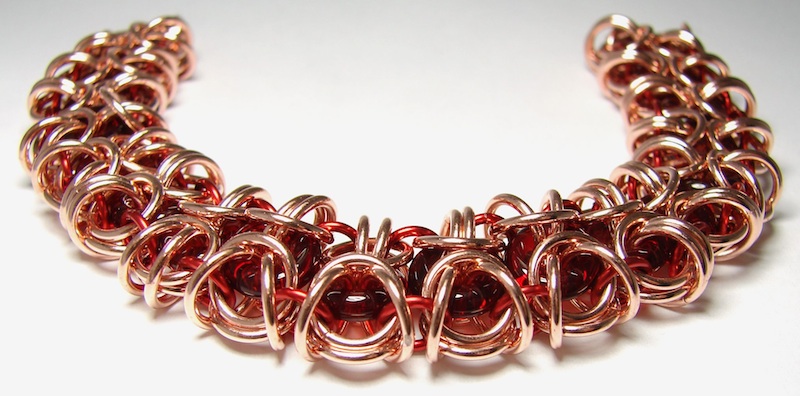
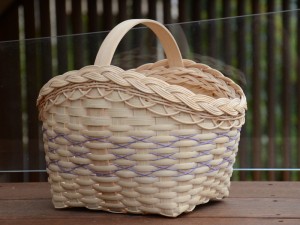
Spider – “Genie made this basket for [my daughter] Kayla in September 2006 as a “memory basket.” The necklace was from late 2011. She loved hearing stories of Kayla’s adventures with beads and jump rings. *sniffle*”

basketnew_necklace2


Genie has likely purchased from other maillers, too. And, I believe she also supported handmade glasswork; when I went to Florida to do a class at her local bead store, she gifted me with a bracelet she’d made out of maille and beads from one of her favorite glass artists. So, if you’re another artisan who felt support and appreciation from Genie, please leave a comment; I’d love to hear from you!

Genie, we are all so glad we had the chance to meet you. I want to thank you for your wonderful support of the maille industry, and for your happy energy in so many of my classes. I can still hear your voice, and it brings a smile to my face. You are missed – I think you touched us more than you ever knew.

genie-beads

Niobium “Rainbow Box” project: color organization

Our artisans are putting the final touches on the last of our exclusive “Rainbow Box” kits which means they will all soon be reaching your mailboxes.  As with all projects, you have total creative license to organize the colors how you like best (have fun with it!)  However, if you want to create a piece that closely resembles our sample, use the “cheat sheet” below.  As you can see, we took some liberty with how many rings we used from each blend and you can do the same to tweak the overall scheme to match your taste.

Important note: The sample photographed below is quite short (only 5.5″) so if you follow it ring for ring, your piece may be too short.  We recommend thinking about long you want your final piece to be and dividing it by 10 (for the 10 different blends) to know around how long each blend section should be to reach your desired length.

Happy Weaving!

RainbowBox-diagram

(click for larger view)


Vote to Select September’s Featured Weave Contest Winner!

CAST YOUR VOTE NOW!

Submissions for September’s Featured Weave Contest are closed – which means it’s time for YOU to cast your vote to determine the winner. Thanks to everyone who submitted a piece featuring Roundmaille. This month’s contest entries were fabulous!

If you share this survey, we recommend copying the link to this blog post and pasting that in any emails, blog posts, or social media pages. (We’ve noticed some weirdness in the past with sharing the link directly. It sometimes likes to bump people out of voting who haven’t already. Thanks!)

Get a sneak peek at our finalists below:

gpettas1 gpettas2 hbyram jroberson_ ksauceda1 ksauceda2 lhobon_ llamkin_ msaunders ryodis1 ryodis2 wingng1 wingng2


FEATURED WEAVE FOR OCTOBER

We’ve got something special up our sleeves for next month’s contest, and we can’t wait to share it with you very soon. Stay tuned!

DIY Fashion: Geometric Jewelry

meshshapesWe’ve noticed a huge trend in geometric jewelry for this fall.  Triangles, chevrons, diamonds – you name it, jewelry is getting angular this season!  A craft that primarily uses circular jump rings to come together may not be the first thing that comes to mind for creating sharp lines and corners, but chainmaille can go total geometric if you want it to.  For this post, we decided to explore what you could create with a simple technique of creating triangular shapes with Europen 4-in-1 (mesh).  The more we played, the more ideas we came up with and what you see in this post is just the beginning.  We can’t wait to see what these ideas stir in your own creative mind!


The Weave

European 4-in-1 a basic weave that anyone can master (check out our Mesh & Rosettes or Mobiused Rosettes tutorials to learn this weave  if you’re new to it.)  For these shapes, we use our size F18 rings (also available in colorful anodized aluminum) to minimize the negative space in the weave and help the triangles keep their shape.  More advanced chainmaillers can play with different rings sizes with a similar aspect ratio to scale these shapes up or down.

edge

Typically when creating European 4-in-1, the weave is created in even rows. If you look at it however, you can notice how the rows are actually offset from one another (the rings from one row sit sortof “in-between” the rings from the rows above and below it.) This is most easily seen when looking at the edge of the weave. See how the end rings in rows 2 and 4 sit farther in than the end rings on the 1st, 3rd and 5th row? This aspect of the weave makes it perfect for create diagonal angles!


The Technique


You can choose to weave the triangles from either end (the widest side or the end point.)  It’s really just a matter of personal preference and how you like to work.

3rowstartWhen starting the triangle from the widest side, the trick is to scoop 3 rings when you begin instead of the usual two.  When you reach the width you want, scoop just one ring onto the final ring you weave.  Flip this final ring to join the row that will become the widest edge of your triangle.  You should end up with a 3-row strip that decreases by 1 ring for each row.  From this point forward, you can add rows one at a time if you like, making sure each row decreases by 1 ring every time (this happens naturally if you make sure to weave through two rings from the previous row every time.)  You can also add two rows at a time as demonstrated in our Mesh & Rosettes tutorial.  Just make sure to scoop 1 ring on the first ring you’re weaving into the row, 2vs3but do not scoop one onto the final ring in order to decrease the row.  When you get to end, you can decide if you want to make the point connect to the two ring or the three ring row.


connecthangIf you prefer to start from the pointed end of the triangle, scoop two closed rings onto one ring to begin.  Creating the triangle in this direction is basically a matter of creating the weave as normal in the center of the row (shown in pink), and then adding hanging rings (shown in blue) to the ends of the row.  In this case, you will build the triangle one row at a time which may be simpler for beginners to visualize.  It also allows you to see how wide your triangle is getting and stop when you like the size.


chevronWe also used this “building from the point” technique to create a chevron.  Once we got to our 8-ring wide row, we started skipping the very center connection to start creating a v-shape.  To continue in a V, you’ll need to continue adding hanging rings (shown in blue) to the outer-most rings in the weave, and then connecting only the next 3 (labeled in pink).


The Possibilities

As with most chainmaille weaves, the possibilites are pretty much endless.  Once you grasp this technique, you can make all kinds of designs!  Here are just a few that we came up with.


bowtie-fullBowtie necklace: Connecting two triangle at their points creates a simple and fun bowtie.  For our bow, we connect the center ring though the 3-ring row on both triangles.  We had to use a slightly large ring (size H18) to fit all six rings and still be able to close the ring.  On the edges, we added a row of tiny rings (size D20) to prevent sagging and slipping on the sides.  We also removed the final ring on each bottom corner because we felt it laid better that way.


draped-full


Draped Chain necklace:
This project is pretty self-explanatory.  The trick here is to keep laying the piece out to make sure the center chains are laying the way you like.  Also, we connected the center chain through two rings instead of just one to keep the rings from sagging and pulling out of line with the others.


chevron-full
Chevron Bib necklace: This piece used the chevron technique we described above as well as a secondary section above that we created by making a 5-row section of mesh and then added a tapered point to the center of the bottom row.  Creating this point is really the same as creating the triangle from the widest side that we described above.  Make sure to lay your two sections together to see if you like how they are lining up.  You can always add or subtract rings to make them align the way you like.