In honor of Brain Tumor Awareness Month, I’d like to share the story behind a bracelet I made last year.
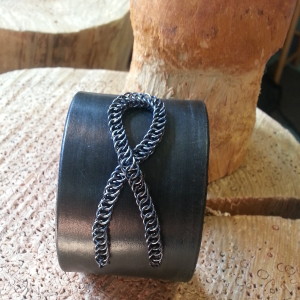
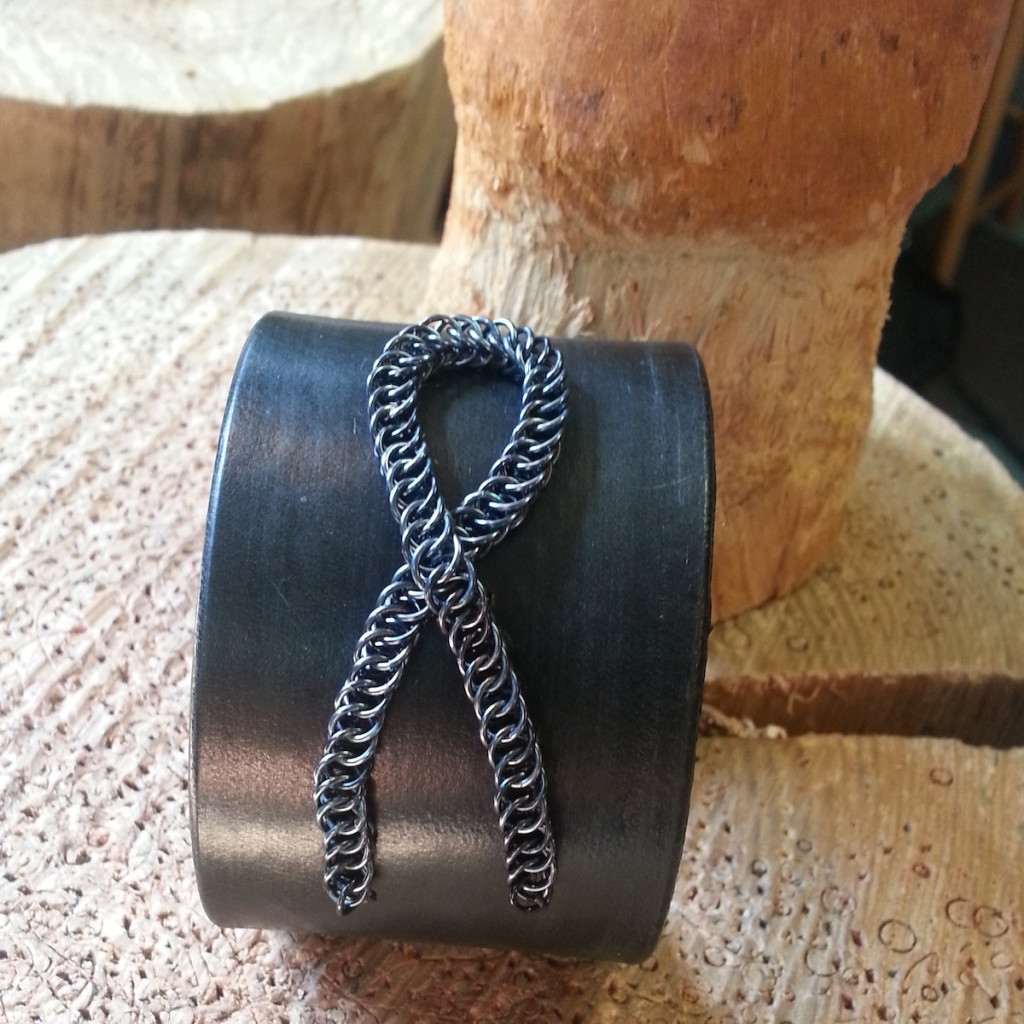
Brain Tumor Awareness cuff with grey chainmaille and black leather by Rebeca Mojica.
Though simple in style, this is one of the most profound pieces I’ve ever made. A lot of emotion went into this piece. I pushed myself to try techniques that I’d never done before, which is always exciting for an artist (and also nerve-wracking when you feel your technique exploration has to have “perfect” results because the piece is going to a customer)!

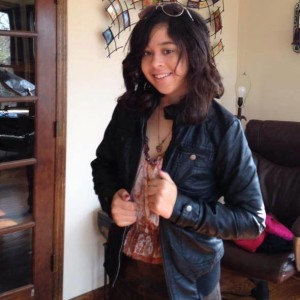
Kayla was only 18 when she was diagnosed with a brain tumor.
A little background: A dear friend of mine’s daughter was diagnosed with brain cancer a couple years ago. She fought back but less than a year later, in the spring of 2014, she was again battling and things weren’t looking good. My friend’s wife contacted me and asked if I could make a piece of awareness jewelry for him. “I looked online and everything is either really feminine, or really generic and cheap-looking.” she wrote. I was flooded with emotion. I was honored to have been asked to make something this special. I was sad it needed to be made in the first place. I was freaking out about what I could possibly make, as I never remembered seeing him wear jewelry. I knew his daughter, Kayla, was the light of his life, and I wanted to create something beautiful and special.
First things first. I went online to research. Initial searches confirmed my friend’s opinion that most awareness jewelry is indeed feminine or cheap-looking. I felt even more pressure to create something “cool.” I learned the official Brain Cancer Awareness ribbon is grey, so I figured I’d start by trying to create a ribbon out of maille. I used Blue Buddha’s L18 anodized aluminum rings in iridescent gunmetal and made a strip of Half-Persian 4-in-1.
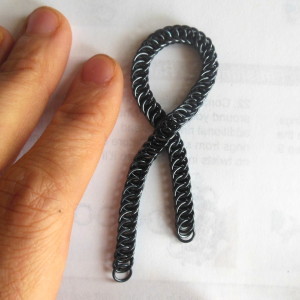
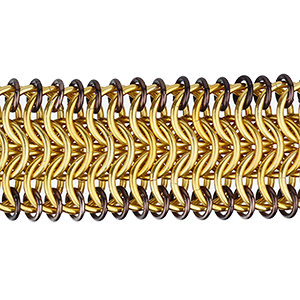
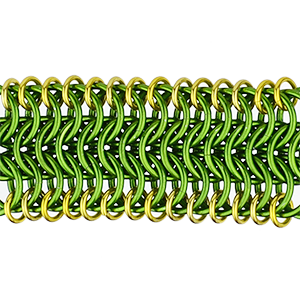
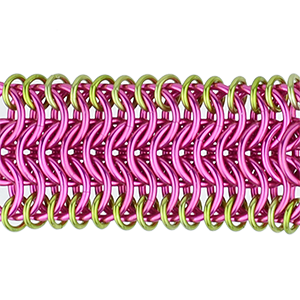
Half Persian 4-in-1 (Flat Persian) with anodized aluminum jump rings in size L18.
L18 = 18 SWG (1.2 mm) 1/4″ (6.4 mm)
OK, so now I had a fluid piece of maille … but what was I going to do with it? My friend’s wife had mentioned leather as a possible bracelet option, which made a lot of sense to me. He was, after all, a rocker dude. I loved the idea of incorporating leather, but the last time I did anything more than punch holes in leather was back in 1988 at summer camp. I was gonna need some help.
I reached out to Sara McIntosh of the Chicago School of Shoemaking for advice and she invited me in to her studio for a private session to collaborate and make something. Below are a few highlights of what we did. I have to say, Sara was super patient and put up with me freaking out every time we were about to move to a new stage in the process, because I was worried I’d mess something up. (I’m a chainmailler; perfectionism is in my blood!) It was great to work with her, and I highly recommend taking a class at her studio.
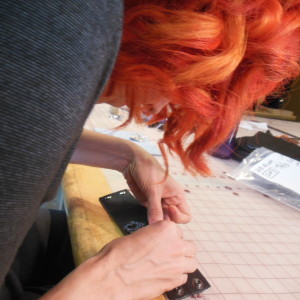
First, Sara cut out a rectangular piece of leather roughly the size we wanted the cuff to be. I believe Sara did some stuff with the leather at this point to make it smooth, but I don’t remember the technical terms for any of this. *cough* I took the rectangle and punched holes in the ends and added snaps. This was somewhat familiar to me because of the rivets I add to leather for my chainmaille belts.
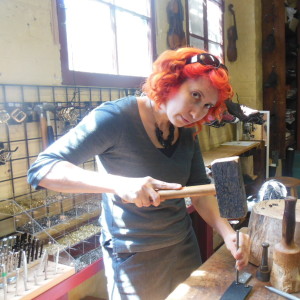
I’m much more at home with pliers in my hands, but I gotta say, hammering is pretty cathartic.
After confirming the size was right, I laid the chainmaille on a piece of paper and arranged it to look like an awareness ribbon. I traced an outline around the piece. Then I positioned the paper on the leather strip and used a pounce wheel to create indents along the center of my outline. This was nervewracking – I wanted the piece to be perfectly centered!
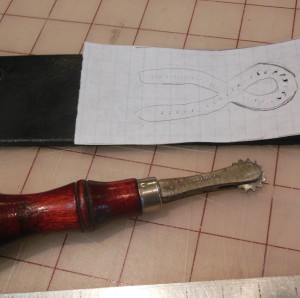
My first time using a pounce wheel tool.
This is what it looked like when I removed the paper:
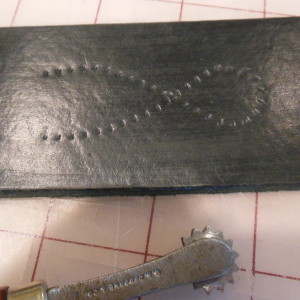
Indent created by pounce wheel.
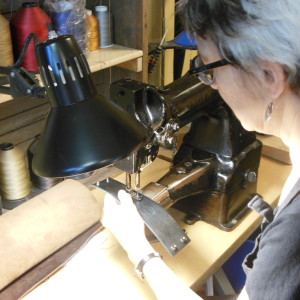
Sara then used a sewing machine to create holes that went all the way through the leather – one hole for each indent.
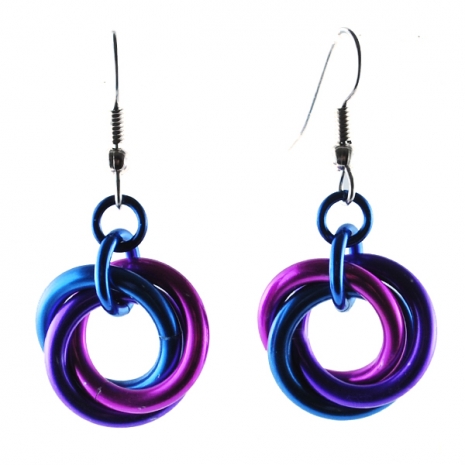 The 3 X12 rings are joined to the earwire with an L16 and and an F18 jump ring.