Just One Ring Necklace: Chainmaille Jewelry Project Variation

Take the classic Jens Pind weave, mix up the jump ring sizes, add a few captive rings, and voila! You’ve got a fantastic necklace.

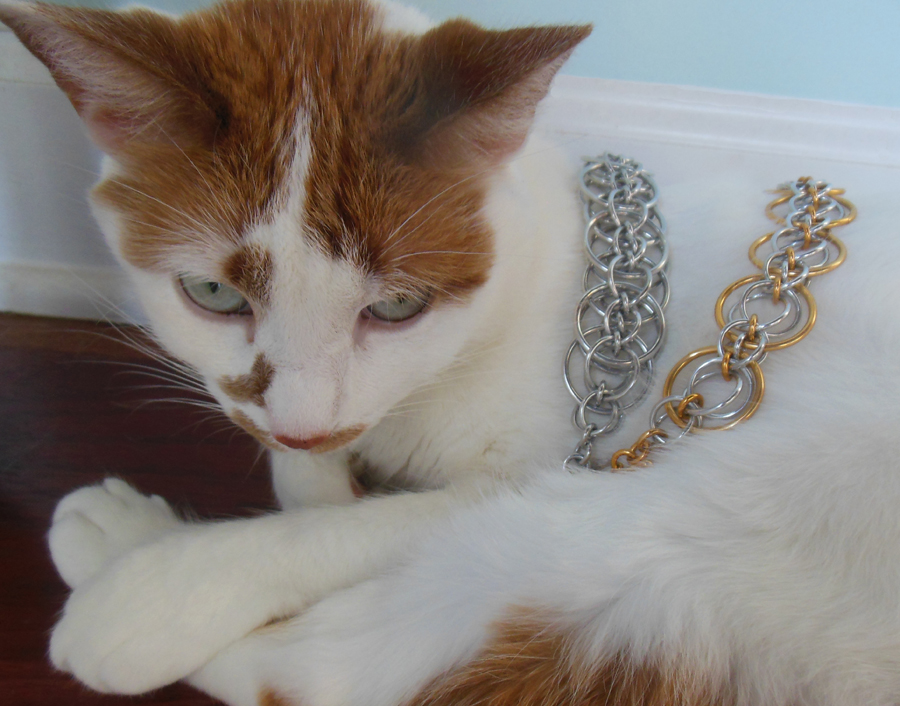
jens pind necklace variation with different sizes of jump ringsIf you can do the Jens Pind weave, you can weave Just One Ring.

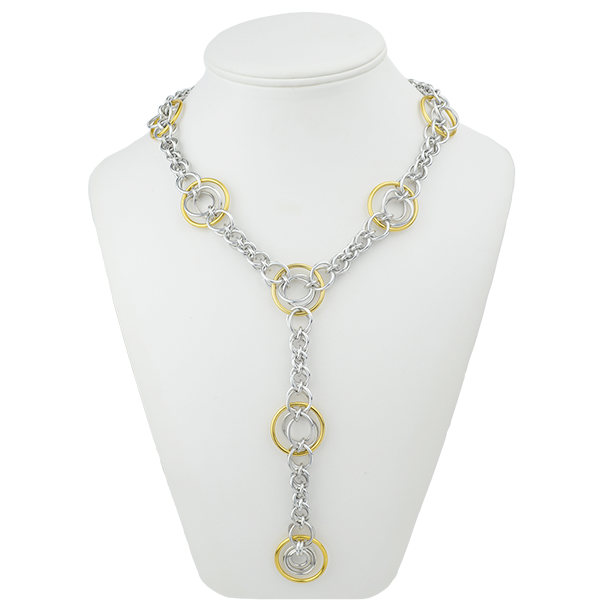
And then, you’re ready for this elegant variation. This Y necklace is mainly the tapered Just One Ring chainmaille necklace made in all aluminum (which does make it more challenging than a tri-color version), plus a few captive rings in Faux Gold (gold anodized aluminum).

All ring sizes and conversions are listed in the Just One Ring tutorial.

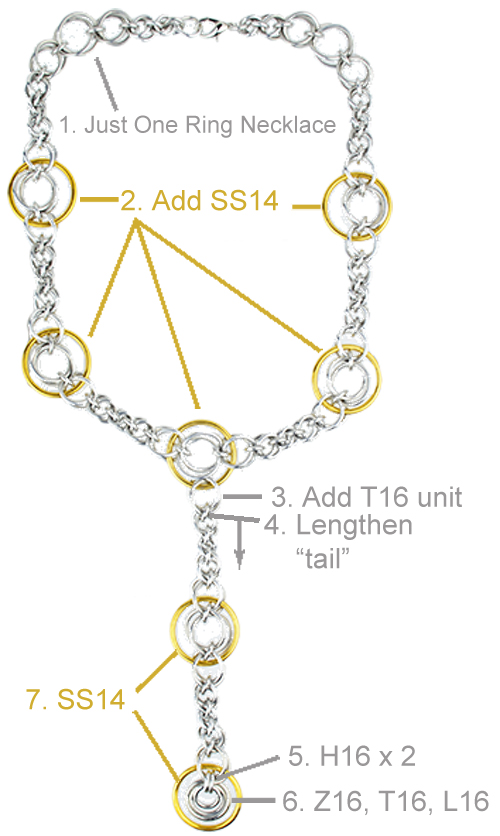
1. To start, weave the piece in a single color of aluminum (of course, you can use multiple colors if you prefer), following the instructions as outlined in Just One Ring. EXCEPT: Do NOT create the extra-large unit of SS14 rings in the center of the piece.

NOTE: At this point you only have a regular necklace without the tail of the Y. You’ll add that in step 3.

2. Then, add 5 captive rings, shown in gold. They are size SS14. See the diagram below for a closer view. You’ll add them inside the T16 units, encircling the Z16 units.

3. Onto the gold ring in the center, add 2 intertwined (möbiused) T16s to start the tail that hangs straight down.

4. Continue with a G16 ring and then L16 rings, and so on, following the Just One Ring directions to lengthen the tail. Create 2 segments (see diagram), finishing on a set of T16 rings.

5. Add 2 H16 rings side by side through the final T16 rings.

6. Through the doubled H16 rings, add a Z16, T16 and L16 ring. They should nestle within one another.

7. Add the remaining 2 gold SS14 captive rings—the top one through two T16 units as usual and the final one just through the bottom set of T16 rings.

Tapered Just Onering Necklace variationStay tuned for additional Just One Ring variations!

Show off what you make. Share what you make to the Blue Buddha page on Facebook and we might feature you! Or, upload to Instagram and tag us: @bluebuddhaboutique #chainmaille

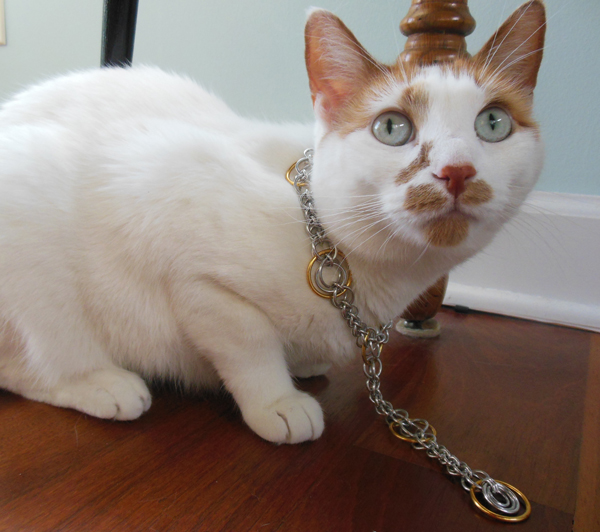
cat wearing chainmaille necklace


Biomechanical Variations: Earrings, Bracelets and a Granny Square Coaster!

Learn these 3 rubbermaille pattern variations and then create your own designs!

I’m enjoying using rubber rings in my chainmaille patterns, such as the Biomechanical Bracelet. If you’ve made the Biomechanical design and want to take your rubbermaille even further, here are some project variations for you to try! By using different color combinations, the design possibilities are virtually limitless!

rubbermaille patterns by Rebeca Mojica

You’ll need the instructions for Biomechanical, as each of these projects builds on components learned in the jewelry tutorial. If you’ve purchased a kit, you’ll have most of what you need to make the earrings, as all our kits come with plenty of extra rings. Otherwise, just grab some additional rubber O-rings and anodized aluminum rings, and you’re set!

Chainmaille Pattern 1 – Biomechanical Square Earrings / Single-Unit-Components

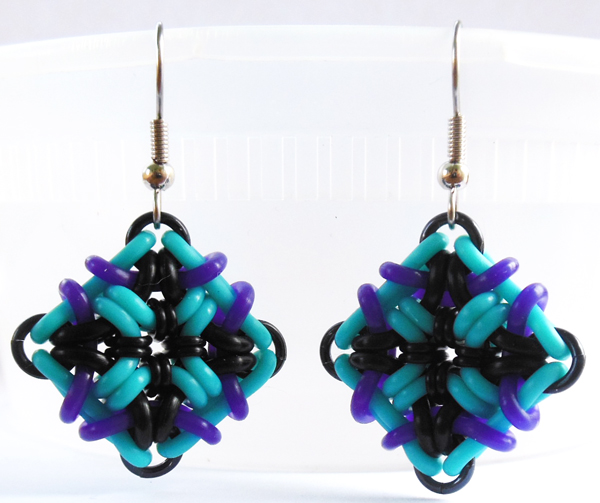
These Biomechanical “squares” are perfect on their own as earrings. Or make multiple squares and connect them as shown in patterns 2 and 3 below.

Materials for Single Units:
NOTE: Double the quantities to make a pair of earrings!

8 qty – C19 RUBR – 19 SWG 7/64″ (1.0 mm)
16 qty* – P16 RUBR – 16 SWG 5/16″ (7.1 mm)
1 qty – H16 AA – 16 SWG (1.6 mm) 3/16″ (4.8 mm)
4 qty F18 AA – 18 SWG (1.2 mm) 5/32″

* To make the earrings shown in the step-by-step photos, I used rubber rings in the following quantities:
8 aqua + 4 black + 4 purple
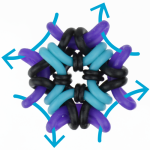
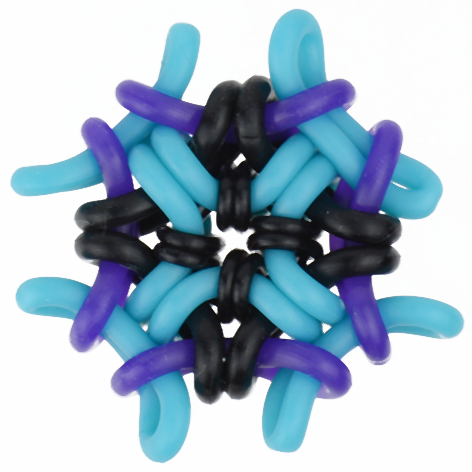
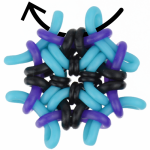
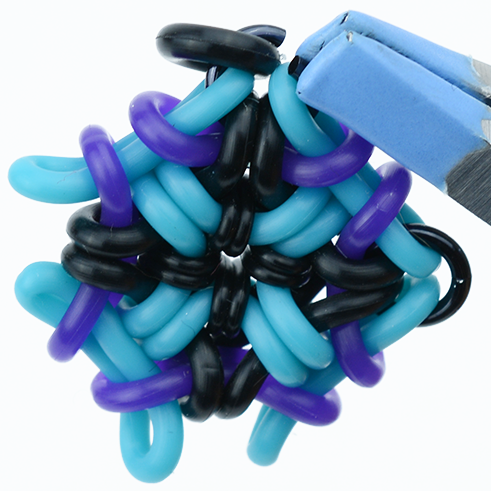
BioMechBlog_01 1 – Follow the Biomechanical Tutorial up to step 9 and then pull a 4th layer of rubber rings through the corners as shown. Use the tip shown after steps 5 and 8 to keep the previous rubber rings from sliding out of place.
Biomechanical rubbermaille variation step 2 2. Your piece should now look like this.
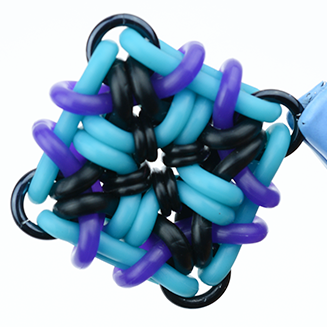
Biomechanical rubbermaille variation step 3 3. Weave a small metal ring* through the corner of 2 adjacent rubber rings that you just added (aqua) plus the corners of the 2 rubber rings (black) inside. This means your metal ring goes through 4 rubber rings total.
* Size F18 shown. (You could also size L16. See examples following step 5 below)
BioMechBlog_05 4. Repeat this for all corners. If making earrings, be sure to add the earwire onto one of the corner rings before you close it.
rubbermaille earrings by Rebeca Mojica  5. Repeat steps 1-4 to create your second earring.
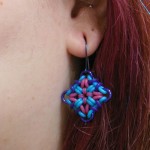
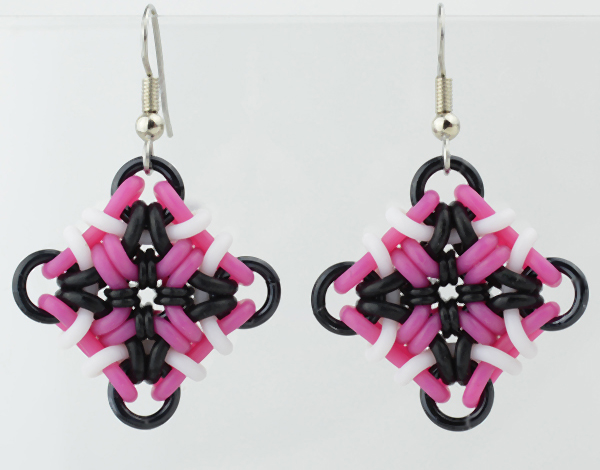
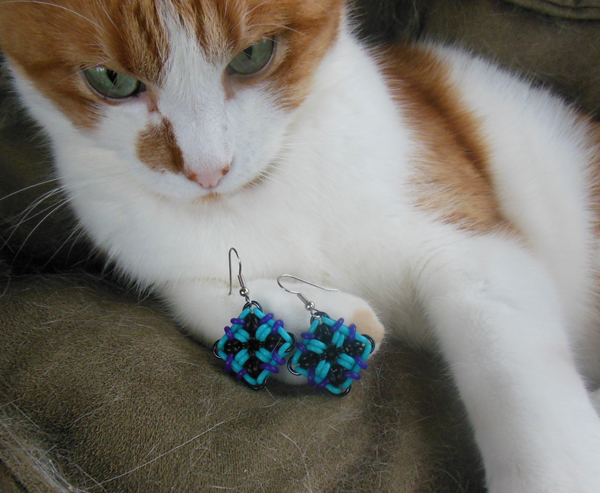
rubber and chainmaille earringEarrings with L16 cornerspink and black rubber earring

You don’t have to use size F18 for the corners. The weave is fairly flexible with regard to corner sizing, and you can increase both the inner diameter and the wire diameter. If you do this, the weave may not look exactly like a “square” and more focus will be drawn to the corners. Neither look is better; it’s just a matter of personal preference!

Both the earrings shown here use size L16 for the corners.

L16 – 16 SWG (1.6 mm) 1/4″ (6.4 mm)

Conveniently, the Biomechanical kits come with plenty of L16 rings, so you might be able to create an extra pair of earrings (or more!) with your bracelet kit. Simply purchase base metal earwire or colorful niobium earwire and you’re good to go!
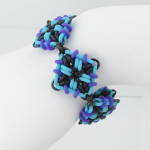

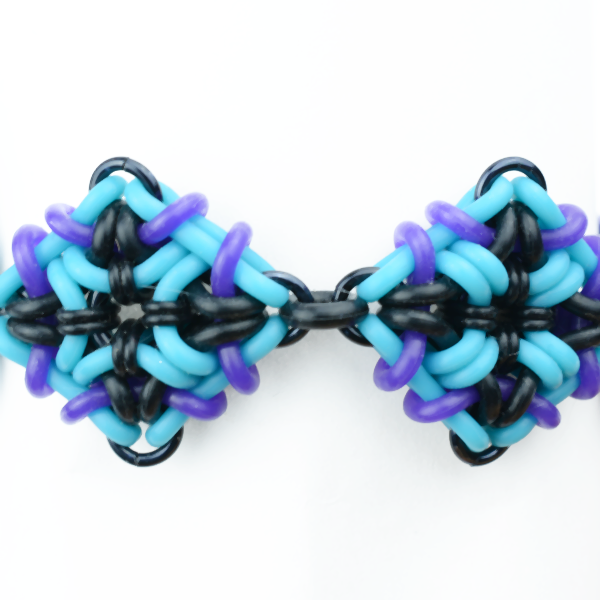
turquoise purple and black rubbermailleChainmaille Pattern 2 – Biomechanical Diamond Bracelet

Connect individual squares by their corners with metal or rubber rings to create the Biomechanical Diamond Bracelet.
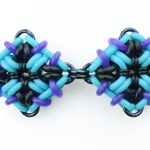
BioMechBlog_06 Follow steps 1-4 above to create 7 or more units—each unit is just shy of a inch at about 7/8″ (2.2 cm). Use size F18 rings in the corners. Then use additional F18 rings to connect units together as shown. Add a clasp to the end units.
Or, if you want a fully stretchy bracelet with no clasp:
1. For your first unit, follow steps 1-4 above, except for two corners (in steps 3-4), add a D14 rubber ring onto one F18 jump ring before closing. Make sure the corners with the D14s are opposite from one another, and not adjacent corners, so that you can connect units as shown in the large photo above.
D14 – 14 SWG (2.0 mm) 1/8″ (3.2 mm)
BioMechBlog_07 2. When you begin step 3 on your next unit, after weaving your F18 through the 4 rings, also weave it through a D14 ring from the previous unit, thereby joining these 2 units together. On the opposite corner, be sure to add a new D14 ring before closing your F18, so that you have a “lead in” to your third unit.

Chainmaille Pattern 3 – Coaster! (Sheet form)

Create a sheet version by lining up your squares side by side, instead of by the corners. You can add additional rows, too, to make a wide cuff.

Shown here is a coaster. Because … why not? 😛 You could also use this design as a hotpad because the rings are made of silicone and are very heat resistant. All the aluminum rings are sandwiched in the weave, so they will not touch your table surface.

The coaster uses size L16 rings for the corners, and D14 rubber rings to connect the units together.
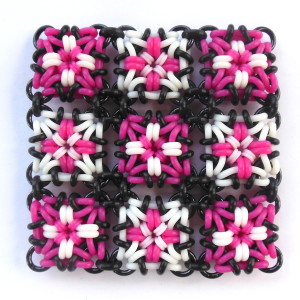
coasterI love how it looks like a crocheted Granny Square!
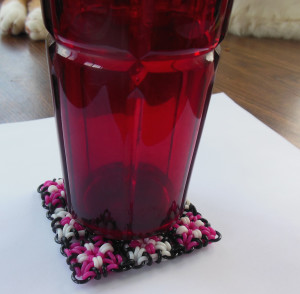
rubbermaille-coaster-with-red-glassThe finished coaster measures 2.75″ across (7.0 cm) which is a bit on the small side (great for tall, thin glasses, but not as practical for large mugs). You may wish to do a 4×4 square instead of a 3×3 square.

Make your own Biomechanical squares and variations! Upload what you make to the Blue Buddha page on Facebook and we might feature you as our photo of the day! Or, upload to Instagram and tag us: @bluebuddhaboutique #chainmaille
cat with biomechanical earrings

$10 off your next order of chainmaille and jewelry-making supplies

Our kits help you create beauty just the way you want it

Our all-in-one kits and step-by-step tutorials take the frustration out of making beautiful jewelry. You don’t have to worry if you have all the components you need for your project, because we’ll supply it all! Just grab a pair of pliers and you’ll be ready to weave something beautiful.

Give one of our 100+ chainmaille patterns a try today – and take $10 off your order while you’re at it. Creating beautiful chainmaille has never been so easy and affordable.

claim-this-offerAll kits come in multiple colorways and many are customizable, so you can create exactly the look you want. With more than 100 patterns from elegant and understated to big and bold, there’s a design for all tastes. We pride ourselves on making this artform EASY for anyone to do—hundreds of customers have told us that our chainmaille tutorials are the best, ever.

how to make chainmaille tutorials and patterns dragonscale from B3

If you’re still not convinced, check out what our customers say and discover 5 reasons to shop at B3.

claim-this-offer

All Stars EXCLUSIVE Collection – The Best of The Best!

We’ve received many requests to bring back some of our EXCLUSIVE Collection kits (especially that niobium Rainbow Box, which someone at Bead&Button literally begged Rebeca for–you know who you are!)

So … *drum roll* … here there are: our best-selling EXCLUSIVE Collection kits available for a limited time. We’ve even added a few bonus colors for customizations!

With your EXCLUSIVE Collection kit you’ll receive:

  •    * easy-to-follow instructions (sent by email) and/or pattern diagrams when your kit ships
  •    * precision-sized jump rings in precious metals (your project will include one or more of the following
  •    * metals: sterling silver, colorful niobium jump rings, rose gold-fill or gold-fill)
  •    * extra jump rings just in case one goes flying across the room (we’ve all been there)
  •    * any other components you need to complete your piece (earwire, clasps, beads, etc)
  •    * FREE shipping

We give you everything you need so you can succeed in creating a beautiful piece of jewelry. No guesswork needed!

Pre-orders* available until July 19th. Kits ship by August 19th.
Pre-order by July 14 and save 10% – Use code ALLSTAR at checkout.

*EXCLUSIVE kits will be created and shipped separately (by August 19th) from any other standard items you order. Domestic Shipping is included in the price of the kit.  International orders may require additional shipping.

shop-now-button

Vote for July Maillers’ Choice!

feather mesh peacock chainmaille It’s time to vote on a colorway for our July Maillers’ Choice kit. Please select your favorite combination for the new colorful Feather Mesh pendant by Wednesday July 8.

European 4-1 is truly the classic chainmaille weave, used in countless pieces of ancient armor. Thanks to Aimee Leang, Blue Buddha’s friendly phone voice, this weave has been brought up to date with her modern design, Feather Mesh. This bold pendant features anodized aluminum mesh gathered by extra-large aluminum rings.

The 3.75″ pendant (10 cm) flows gently on an 18-inch chain, becoming the ultimate summer statement necklace.

This month, your choices are:

Iridescent gunmetal, pink and purple (as shown above)

Red, orange gold:

red-orange-goldTurquoise, blue, lime:

turq-blue-limeYellow, green, violet:

yellow-green-violet

votenowbutton