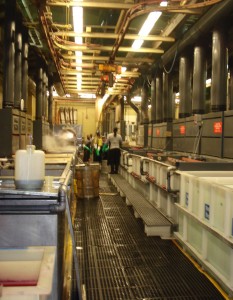
 Several months ago, Blue Buddha Inventory Coordinator Jen and myself visited our aluminum anodizer. Because so many of you have expressed interest in finding out more about the anodizing process, we want to share some of the photos from our site visit.
You may know that Blue Buddha has never done aluminum anodizing in-house, nor do we plan to. Why? Well, unlike anodizing titanium and niobium, which can be done purely by electricity, anodizing aluminum is a multi-step process involving lots of icky chemicals and dyes. If we took this on, we’d have to get all sorts of special waste disposal permits from the city. In short, it is a whole other business model that I do not want to get involved with! I’ll leave that to the experts. Our anodizer is very conscientious about waste and hazardous materials disposals. Innovators in their industry, they’ve found ways to turn waste products into useable materials for other industries, and they’ve received much recognition for their environmental efforts.
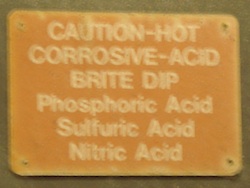 Here are some highlights of the anodizing process. There are several steps that we’ve omitted — let’s face it, photos of dipping rings in acid solutions and rinse water (which happens a few times throughout the process) get old quickly.
  So, here are some of the more interesting parts of the process.
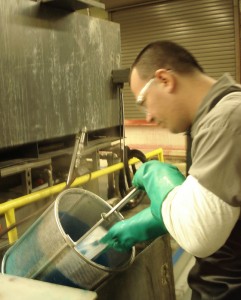
Early in the process, our jump rings are put into a tiny basket and compressed. They need to be very densely packed in order to allow the flow of electricity to pass through all the jump rings. This flow of electricity–the anodizing process–makes the surface of the jump rings porous (you’ll find out more about this in an upcoming post). After the rings have been anodized, they are transferred to a larger basket in order to add the color.
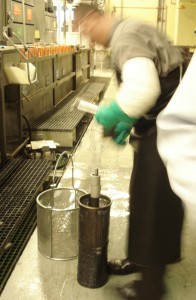
The rings are now brought over to whatever color bath is appropriate. In this case, turquoise rings are being made. The rings are dipped quickly into the bath, and then pulled out. Note the steam in the second photo — the dye is HOT!
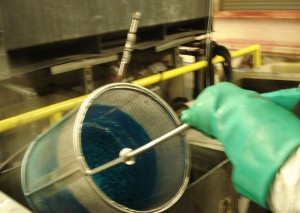
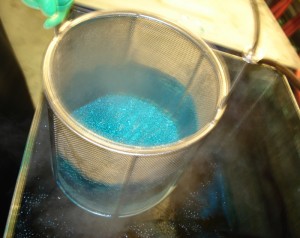
The amount of time the rings need to stay in the dye is astounding – a mere 5-20 seconds gets the job done for most colors. In fact, the process is so sensitive that leaving the rings in an extra second or two will cause them to be a shade or two darker than they should be. (Hence our first post in this series: Color variation is just a fact of life.) Here, the anodizer compares the color of the rings against our “target color” sample board to see if the rings need to stay in the dye for another second.
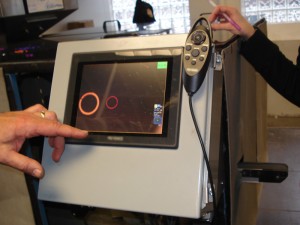
After the rings are finished being dyed, the color is sealed in, effectively closing the pores on the surface of the metal. (See the next article in our series for more about the porous surface.) There are sometimes a few rings that have not taken the color properly. Sometimes more than a few rings—as many as 30-40%. This means they didn’t receive electricity during the first part of the process. Our anodizer is working on adapting their color-monitoring machine for our jump rings. This means that as the rings pass through the machine, if they do not meet the target color within a certain tolerance, the machine will flick them off the assembly line. Quality control of the 21st century!
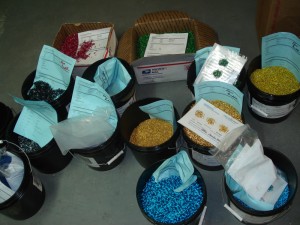
When it’s all said and done, the rings await being packed and shipped to our shop.
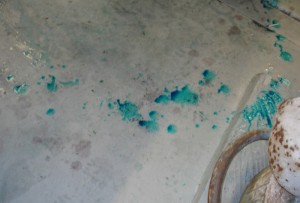
And finally, this is the image that made me laugh the most. Here at B3, we have jump rings all over our floors. (I know, you’d never believe it, but it’s true! *cough*) And apparently, at the anodizing factory, they have drips on their floor.  What can I say, it’s the little things in life that make me smile.

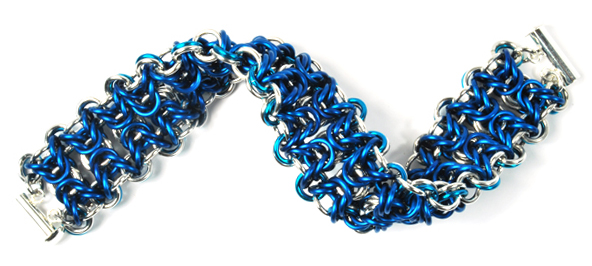
 We introduced our new

 1. You have to be a truly knowledgeable expert, which means it is not just what you know about chainmaille, but that you make a very strong effort to know everything there is to possibly know about chainmaille. If the advice and technique you share is limited to what is only your experience, you credibility will certainly be challenged and possibly lost when other experts find your errors and lack of expertise.
 If you’re interested in becoming a B3 Designer, learn more about the program and how to apply