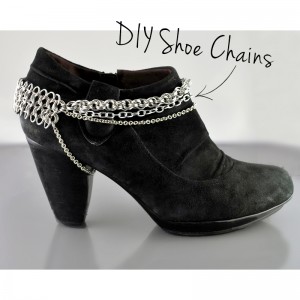
Chainmaille is popping up in fashion all over the place from high fashion runways to embellishments on t-shirts and even shoes. We decided to take on one of these trends and create our own draping chains for shoes using a couple of our beginning level tutorials (one of which is even FREE) and some pre-made chain. We were pretty pleased with the results! Here are our tips for creating your own.
DIY Draping Chains for Shoes
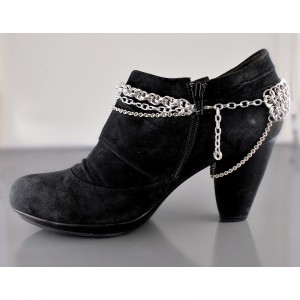
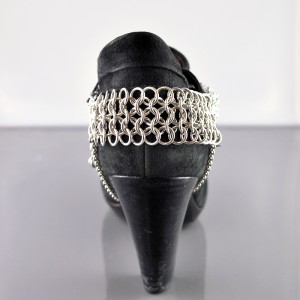
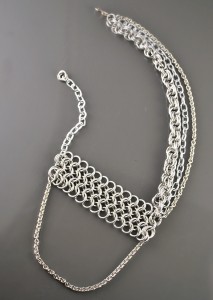
- Use a pair of shoes you think you might want to wear the chains with as your “mannequin”. You want your final piece to compliment your shoes, so this is the best way to keep checking your work to see if you like how it’s coming along.
- Stability for the piece comes from the heel section and the top-most draped chain. Make sure the top chain and the heel section create a snug fit around your shoe/ankle to prevent the piece from sliding off the back of your heel as you walk.
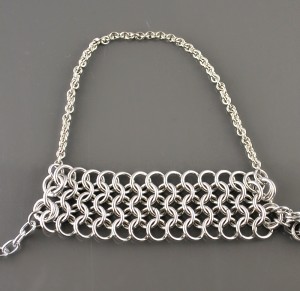
- Use sturdy jump rings for the these main sections. We used 16 and 18 gauge rings so that they won’t start to pull apart as you wear them.
- Put your shoe on to fit the draping. We noticed that the draping fit considerably differently when we actually put the shoe on as opposed to just using it as a mannequin on our work bench. Before you cut your chains, put the shoe on and get them to lay the way you want.
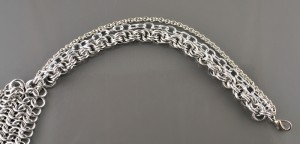
- Order matters. When connecting your draping chains to the heel section and the clasp ring, make sure they are in the same order (top, middle, bottom) or your piece will twist and not drape properly.
- Make the closure adjustable. You may need the fit to be tighter or looser depending on the shoes you want to wear your chains with. We left a little extra chain to make the piece adjustable so it can be more versatile.
- Have fun! We’re pretty sure there are about a million different ways you could make these (we already have ideas for creating a pair using Half Persian 3-in-1 chains in varying sizes. Using rubber o-rings would also be really cool. :))
Take on this project? Take a picture and post it using the hashtag #B3DIYFashion so we can see your handiwork!
What we used…
Heel Section:
–Mesh & Rosettes Tutorial
–L16 Aluminum jump rings (136 rings total for both shoes)
–Pre-made chain* for under the sole
We also “möbiused” the end rings to add stability – learn how to mobius jump rings with our FREE download.
Draping Section:
–Double Spiral Tutorial (FREE PDF download)
–L18 Aluminum jump rings (224 rings total for both shoes)
–Pre-made chain* in two weights (visit your local craft store to find chain you like!)
Closure:
–Möbius Ball to finish the end (FREE PDF download)
–H18 Aluminum jump rings (6 rings total for both shoes)
–Pre-made chain (visit your local craft store to find chain you like!)
–Lobster Claw
Putting it together:
The rings you need to assemble your pieces together will depend largely on the size of rings and weaves you use. For our piece, we primarily used size H18 to connect the heel section, draping chains and closure (we used a total of 14 size H18 connecting rings for both shoes.)
*If you are using any very small chain (like the kind we used in the draping and for under the sole), you’ll need a handful of small 20ga rings (we used size D20) to connect the chain. We recommend using stainless steel to prevent it from pulling apart too easily.
 Tools:
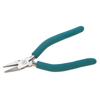
Due to the variety of ring sizes/gauges needed to complete this project, we found ourselves flipping between a couple different pairs of pliers. We used medium flat-nosed Wubbers along with our Euro Tool Ultra Ergos to make this piece come together. You’ll also need a pair of wire snips for the chain.

I’ve been itching to try out a new idea for a project, but can’t find a pair of women’s heels (that I don’t have… http://t.co/JlchAo2xEb