Free & Easy Jewelry Project: Vintage Floral Burst Earrings!
Posted by Britt
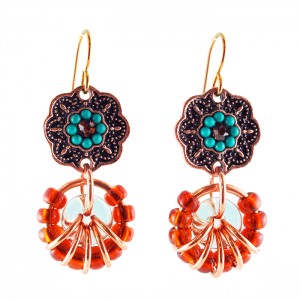
Vintage Floral Burst Earrings, designed by Kat Wisniewski, Blue Buddha Boutique Designer

This vintage-inspired, summer-loving design uses pops of aqua to complement the beautiful bronze and copper tones. These simple earrings incorporate copper and glass chainmaille for an added touch of sophistication. The inspiration for this project came from the gorgeous Copper and Teal Flower Component itself; Kat was immediately drawn to both the color palette and the shape. Give them a try!
Materials
2 Copper & Teal Flower Components (available from Cousin Corp.)
2 Niobium earwires (in Curry)
2 large Copper Jump Rings in size Z16 (16 SWG 15/32″ // 11.9mm)
12 medium Copper Jump Rings in size M18 (18 SWG 17/64″// 6.7mm)
2 glass rings (9.5 mm OD x 3.5mm ID)
20 size 6 Miyuki seed beads*
*Even though the size of these beads are quite consistent overall, you may need to have more than 20 beads on hand to ensure the large jump ring fits through them. Also, Miyuki is more likely to work than Czech size 6, which have slightly smaller holes.
Prep: Attach one earwire to each of the flower components by gently opening the loop on the earwire, weaving it through the hole on the component, and closing the loop again with your pliers. Set these aside until Step 2.
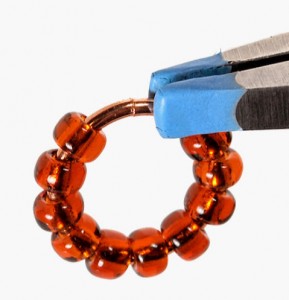
1. Add 10 seed beads to the large ring and close the ring.

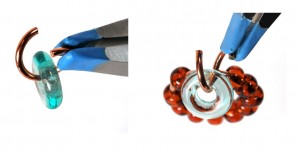
2. With a medium ring, scoop up a glass ring and also weave through your beaded ring from Step 1. Before closing, also weave through the Copper and Teal Flower components you prepped. Close the ring.

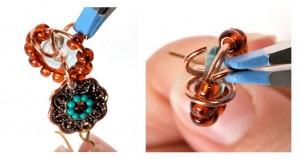
3. Weave a medium ring through the glass ring within your unit and continue to weave it around the large ring. Before closing ensure that there are 5 beads on either side of this medium ring. Close the ring. (Click on photos to enlarge.)
4. Finish your earring by weaving 2 additional medium rings on both sides of the center medium ring (5 rings total including the ring added in step 3). Make sure to trap a bead in between each medium ring before closing each one.
(Click on photos to enlarge.) 
Repeat steps 1-4 to complete your other earring. You’re done!


 Repeat steps 1-4 to complete your other earring. You’re done!


Leave a Reply
Be the First to Comment!